May 06, 2012
ブローチ制作
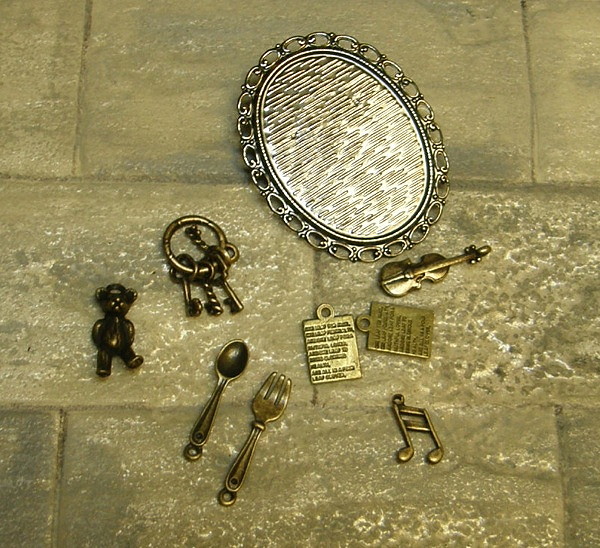
アクセサリー用のパーツいろいろ。
これでブローチをつくる。

ステッカーもつかう。
台座にステッカーを貼って、
カッターで余分な部分を切り取ったところ。

パーツを固定するのには、
UVクラフトレジン液(紫外線硬化樹脂液)を使う。
これは清原株式会社の製品。

ステッカーを貼った台座のうえに、
アクセサリー用のパーツを配置して、
うえから溢れない程度にレジン液を流し込む。
固まらないうちに、つまようじなどで配置を整える。
紫外線で硬化するので、5分〜30分程度、
日中日当たりのよいところに置く。

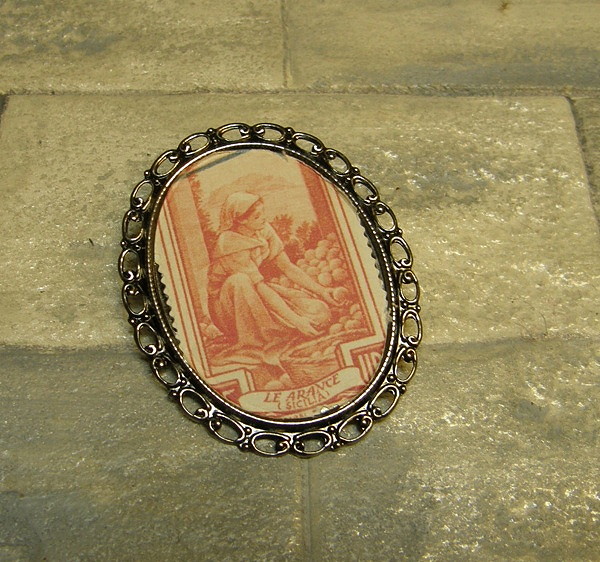
完成♪
**
解説)
ユザワヤでレジン液を売っているのをみつけて、
アクセサリーパーツを見繕ってブローチを作ってみました。
レジンを流し込む工作ははじめてのこと。
気泡ができてしまったら、つまようじでつついて消す、
というところにちょっと神経をつかうくらいで、
オリジナルブローチがかなり手軽に作れます(^^)。

Edit this entry...
wikieditish message: Ready to edit this entry.
A quick preview will be rendered here when you click "Preview" button.